
Preparing Your Child for Diagnostic Imaging — a Parent’s Guide to Safe, Calm Paediatric Scans
Diagnostic imaging for children — including ultrasound, X‑ray, MRI and CT — lets clinicians look inside the body without surgery, producing images that guide diagnosis and treatment. This guide explains each test, why preparation matters, and how clear instructions reduce repeat scans and delays. You’ll find practical, age‑appropriate steps (clothing, fasting and bladder rules), simple ways to reduce anxiety, and logistics to make appointments run smoothly. We also outline test‑specific preparation (including fasting and contrast advice), compare requirements side‑by‑side, and share techniques to help children stay still and comfortable. Throughout the guide there are checklists, quick age‑based tables and child‑centred scripts to help families on the Central Coast feel prepared and confident.
How can parents effectively prepare their child for diagnostic imaging?
Good preparation combines straightforward physical steps with emotional support to create safer scans and a calmer experience for your child. Physical preparation includes wearing the right clothes, removing metal, following fasting or bladder instructions when needed, and telling staff about medications or allergies so the team can plan. Emotional preparation — short, age‑appropriate explanations, role‑play and distraction — reduces fear and improves cooperation, which in turn improves image quality and shortens appointments. Practical details like arriving with paperwork, bringing comfort items and asking about pre‑scan familiarisation make the visit predictable and less stressful for everyone.
Below is a simple, step‑by‑step checklist you can use before any imaging appointment. It clarifies what to do at home and what to bring on the day to reduce delays and retakes. After the checklist you’ll find an at‑a‑glance table comparing key preparation for ultrasound, X‑ray, MRI and CT so you can plan quickly.
Use this short preparation checklist before most paediatric imaging visits:
- Confirm the appointment and arrival time: Check the arrival window and any paperwork to complete beforehand.
- Check fasting or bladder rules: Verify modality‑specific instructions so the scan isn’t cancelled or repeated.
- Dress for access and comfort: Choose loose, metal‑free clothing to make positioning easier.
- Bring comfort items and documents: Pack a favourite toy, a post‑scan snack, and an up‑to‑date list of medications and allergies.
This checklist gathers the most common actions into quick steps you can use the night before and the morning of the scan. Next is a comparison table that outlines differences across the main tests and flags which steps are mandatory versus recommended.
Different imaging tests need different preparation. The table below gives a concise comparison to help parents prioritise what to do before the appointment.
This comparison shows at a glance which tests require fasting, a bladder‑fill or metal screening. With this information you can move from the general checklist to the specific steps needed for each modality and help ensure a safe, effective scan.
What are the key steps to physically prepare your child for a medical scan?
Physical preparation focuses on four reliable areas: clothing and metal removal, food and fluid rules, medication/allergy disclosure, and arrival logistics to avoid delays. Choose loose, plain clothing without metal fasteners and pack a spare outfit if toileting accidents are likely. Follow fasting or bladder guidance exactly for abdominal ultrasound, CT with contrast or MRI under sedation — timing often varies by age. Bring a current medication list and note any past reactions to contrast agents so staff can pre‑screen and plan safely.
These simple steps directly affect image quality and safety: removing metal prevents artefacts, correct bladder tone is essential for pelvic scans, and accurate allergy information reduces risk. The next section explains emotional preparation strategies that help different age groups and improve cooperation during positioning.
How can parents support their child emotionally before and during imaging?

Emotional preparation lowers anxiety and improves cooperation, which shortens scan time and reduces re‑scans. Use simple, honest language suited to your child’s age — short sentences that describe sounds, sights and what will happen. Practice with role‑play using a favourite toy to mirror the scan. Try distraction like stories, singing, or a preloaded tablet and headphones for older children, and small rewards (stickers or treats) for toddlers. If your child is especially anxious, ask about a pre‑visit familiarisation or mock scanner session — these build confidence and often mean sedation isn’t needed.
A calm, informed child lets technologists position them faster and capture diagnostic images with fewer repeats, which improves safety and the overall experience. The next section focuses on ultrasound and age‑based fasting and bladder rules.
What should parents know about preparing for a paediatric ultrasound scan?
Paediatric ultrasound uses high‑frequency sound waves to make live images of organs and soft tissues. It’s radiation‑free and commonly used for abdominal, pelvic, hip and soft‑tissue checks. Because ultrasound images depend on preparation, follow fasting instructions for abdominal studies and bladder‑fill instructions for pelvic or urinary scans. The exam is non‑invasive: gel is applied and a handheld transducer is moved over the skin. Cooperation and appropriate bladder tone are the main factors in getting clear images, so clear, age‑appropriate instructions before the appointment reduce the chance of rescheduling.
The table below summarises common age‑based fasting and bladder guidelines to use as a starting point — always confirm exact timing with the imaging provider, as instructions can vary by referral and exam type.
This table groups practical rules by age so you can plan feeds and toileting before the appointment and avoid last‑minute cancellations. The next subsection explains what happens during the scan and how to support your child through positioning and cooperation.
What is a paediatric ultrasound and how does it work?
Paediatric ultrasound sends harmless sound waves into the body and records the echoes to create live images of organs, vessels and soft tissues. It gives dynamic views without ionising radiation. During the exam the transducer moves over a warmed gel on the skin and the child may be asked to hold still or breathe gently for short periods. Common uses include evaluation of abdominal pain, neonatal hip checks and soft‑tissue lumps. Because the test is repeatable and safe, good preparation focusses on bladder tone and fasting when required to improve diagnostic yield.
Knowing how ultrasound works helps parents explain the process to their child — the age‑based preparation table above gives specific fasting and bladder timings to follow.
What are the age‑specific fasting and bladder preparation guidelines?
Age‑specific rules balance safety and diagnostic needs: infants often need only short fasts, older children may require longer fasting for abdominal studies, and pelvic exams usually need a full or partially full bladder. For many abdominal ultrasounds infants may fast briefly while older children commonly follow a 4–6 hour fast for solids; clear fluids are often allowed nearer the appointment. Pelvic and urinary scans typically require a full or partially filled bladder depending on the child’s size — the clinic should give precise timings (for example, specific drink volumes at set times) and tips to delay voiding. If instructions are unclear or your child has special needs, contact the imaging provider before the visit to confirm and plan adaptations.
Clear, age‑based instructions prevent wasted appointments and stress. Next we review X‑ray preparation, where removing metal and quick cooperation are the main priorities.
How do you prepare your child for a safe and comfortable X‑ray?
X‑ray uses low levels of ionising radiation to quickly image bones and some soft tissues. Modern digital X‑ray systems and ALARA principles keep doses as low as reasonably achievable for children. Preparation is simple: wear suitable clothing and remove jewellery or metal fasteners to avoid artefacts and re‑exposures. Be ready to follow the technologist’s positioning instructions and bring comfort items to help the child stay still for the few seconds needed to capture the image. If a parent needs to stay in the room, technologists may offer lead shielding or explain alternatives that keep both you and your child comfortable and safe.
Below is a short practical list of clothing and metal removal dos and don’ts so you can prepare quickly on the morning of the appointment. The following paragraph describes behaviour tips to help the child remain calm during the brief exposure.
- Wear loose, plain clothing with elastic waists and no metal fastenings to simplify dressing and positioning.
- Remove jewellery and metal items such as hair clips, belts and certain shoes before arrival.
- Bring a spare outfit in case the child needs to change, especially for younger children after toileting.
This short list helps avoid delays and improves the chance the technologist will get diagnostic images on the first try. The next subsection explains how parental presence and distraction can help secure stillness during the X‑ray.
What clothing and metal restrictions should parents follow for X‑rays?
Clothing guidance for paediatric X‑ray aims to remove image‑degrading metal while keeping the child comfortable and covered where possible. Pick clothes without metal zips, snaps or studs — tracksuit pants or leggings work well. If the imaged area needs to be uncovered, a hospital gown will be provided. Remove piercings and replaceable accessories ahead of time to avoid delays or extra exposures while correcting artefacts.
Following these clothing rules reduces repeat images and unnecessary radiation. The next subsection gives behavioural techniques parents can use to increase cooperation during the short capture.
How can parents help their child stay still and calm during an X‑ray?
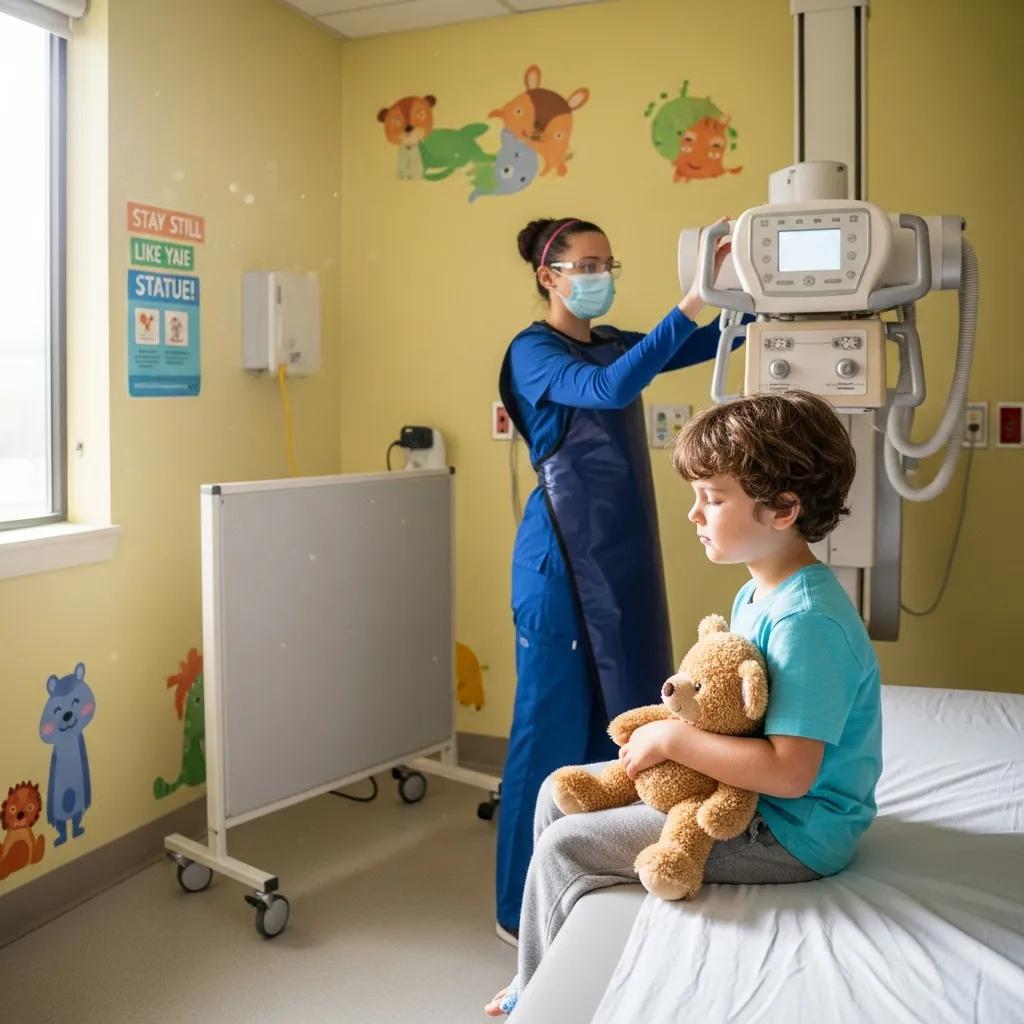
Short coaching and distraction make a big difference for X‑rays that require stillness for only seconds. Use simple language: tell the child the technologist will take a quick picture and ask them to be a “statue” for a moment, and practise ‘statue time’ at home. Bring a favourite toy, sing or count rhythms, or give older children headphones with a short song. If needed, technologists can use gentle immobilisation aids — discuss these options beforehand so nothing is surprising on the day.
Calm cooperation shortens the appointment and reduces repeat films. The following section covers MRI preparation, where metal safety, noise and possible sedation are the main concerns.
What are the essential preparation tips for your child’s MRI scan?
Magnetic resonance imaging (MRI) uses strong magnetic fields and radiofrequency pulses to produce detailed images without ionising radiation, making it suitable for many paediatric cases. Preparation focuses on thorough metal screening, clear fasting instructions if sedation is planned, and ways to manage noise and the confined scanner bore that can worry some children. MRI sessions last longer than X‑ray or CT, so plan distraction, headphones or a mock‑scanner familiarisation to encourage stillness. When behavioural supports aren’t enough, the team may consider sedation and will complete a pre‑assessment. Gradual exposure through play or a mock scan often lowers anxiety and can avoid the need for sedation.
To turn safety concerns into practical actions, the table below links common MRI safety issues with clear parent steps that protect your child and support a successful scan.
This table helps parents spot safety flags and take simple steps before arrival, reducing day‑of delays and checks. The next subsection explains MRI basics and why it’s radiation‑free so families understand the benefits of the modality.
How does an MRI work and why is it radiation‑free?
MRI makes images by aligning hydrogen protons in the body with a strong magnetic field and using radiofrequency pulses to generate signals that are converted into detailed pictures. Because MRI uses magnetic and radiofrequency interactions rather than ionising radiation, it does not carry the same exposure risks as X‑ray or CT. Children may hear loud knocking noises during sequences and need to stay still for longer periods, so noise protection and behavioural strategies are important. Understanding the basics reassures families that MRI is a safe, radiation‑free option while setting realistic expectations about duration and sensory experience.
Knowing MRI doesn’t use radiation often reassures families and leads naturally into the practical fasting, sedation and metal‑screening steps described next.
What are the fasting, sedation and metal safety guidelines for paediatric MRI?
Fasting instructions for MRI depend on whether sedation or general anaesthesia is planned: when sedation is likely, follow the clinic’s fasting timelines to lower aspiration risk — typically several hours for solids and shorter for clear fluids. Sedation is considered when a child cannot stay still despite behavioural supports; the imaging team will assess developmental level, previous experiences and medical history. Metal screening involves a detailed checklist (including implants, shrapnel and dental appliances); pacemakers and some devices need special protocols or alternative imaging. Always tell the team about medical devices, allergies and recent surgery before the appointment so the MRI team can plan and avoid cancellations on the day.
Clear pre‑procedure communication about fasting, sedation criteria and metal checks reduces stress and ensures the right supports are in place. Next we cover CT, where low‑dose protocols and contrast considerations are key.
How should parents prepare their child for a low‑dose CT scan?
Paediatric CT produces rapid cross‑sectional images; modern low‑dose protocols and ALARA principles reduce radiation while keeping diagnostic quality. CT is often used for trauma, complex bone anatomy or cases requiring fast, high‑resolution detail. The scan is quick but the child must stay still for seconds to minutes. Preparation usually includes screening for contrast allergies, following fasting instructions if IV contrast or sedation is planned, and ensuring the child is comfortable to minimise motion. Talk with the referring clinician and the imaging team about why CT is recommended so you understand the benefits, alternatives and dose‑reduction strategies.
Here is a short practical list to use when preparing for a CT appointment to manage contrast screening and reduce movement during the scan.
- Confirm the indication and necessity: Ask why CT is recommended and what information it will provide.
- Disclose allergies and medications: Tell staff about past contrast reactions or medications that affect contrast use.
- Follow fasting and hydration instructions: If IV contrast or sedation is planned, stick to fasting and hydration guidance to reduce risk.
This list helps families prepare for CT’s specific considerations of contrast and speed. The next subsection explains when CT is chosen and what the child may experience during a low‑dose scan.
When is a paediatric CT scan recommended and what does it involve?
CT is chosen when rapid, cross‑sectional detail is needed — for example, trauma assessment, complex anatomy or acute problems where speed and bone/air contrast are important. The scan is short and done on a table that moves through the CT gantry while detectors collect thin slices; modern protocols adjust dose for the child’s size and the clinical question. Children may need reassurance about brief noises and positioning; because acquisition is fast, immobilisation is often simpler than MRI, though very young or uncooperative children may still need sedation. Discuss expected duration and the clinic’s low‑dose approach so you can weigh benefits and risks and prepare your child.
The following practical subsection covers contrast pre‑screening and movement‑reduction strategies that make CT both safe and diagnostically effective.
How to prepare for contrast agents and help your child stay still during CT?
If IV contrast is required, pre‑screening focuses on prior reactions, kidney function when relevant, and medications that affect contrast safety; this protects your child and informs hydration or pre‑medication plans. Provide a complete allergy and medication history before the appointment and follow any fasting or hydration instructions the team gives to reduce adverse events. To limit motion, use short distraction tactics minutes before the scan, practise holding still at home for brief periods, and talk with technologists about mild immobilisation supports. Knowing the contrast plan and movement strategies ahead of time reduces delays and helps ensure a single successful acquisition.
A brief clinic note follows with information on local paediatric imaging services available on the Central Coast.
What are the best strategies to reduce child anxiety during medical imaging?
Lowering anxiety is central to successful paediatric imaging — calmer children cooperate better, need fewer repeats and are less likely to require sedation. Combine practical preparation with environmental supports and therapeutic play. Child life techniques, medical play and mock sessions familiarise children with equipment using age‑appropriate language and toys; these approaches build predictability and reduce fear. Simple parental scripts, comfort items, headphones and distraction devices also improve cooperation for both short and longer procedures. For children with significant prior medical trauma or high anxiety, request a pre‑visit consultation with paediatric‑trained staff to create a tailored plan that minimises distress and optimises images.
The next subsection explains how child life specialists and medical play work and when to ask for their support.
How do child life specialists and medical play help children cope?
Child life specialists use developmentally appropriate explanations, role‑play with dolls or toy equipment, and stepwise exposure to the scanning environment to demystify procedures and reduce fear. Mock scanner sessions and practice positioning help children build confidence and practise stillness in a non‑threatening way, often reducing the need for sedation. These specialists also coach parents, suggest distraction strategies tuned to the child’s level, and design reinforcement plans that reward cooperation. Ask for these supports when booking if your child has high anxiety, communication differences or past negative medical experiences so the team can schedule familiarisation time.
Medical play and tailored preparation are especially helpful for MRI and CT, where longer duration or noise can be challenging. The next subsection lists comfort items and sample scripts parents can use across ages.
What comfort items and parental communication methods work best?
Familiar items and simple, honest explanations create routines that soothe children and encourage cooperation across age groups. Useful items include a favourite soft toy or blanket for toddlers, noise‑reducing headphones and a playlist for older children, and a small reward or sticker chart to reinforce good behaviour. Use short, truthful scripts: for toddlers try “We’re going to take a quick picture while you lie very still like a sleeping kitten,” and for school‑age children say “The machine makes pictures of the inside of your body; you’ll hear tapping noises but your headphones will play music.” Offer small choices (pick a song, hold a toy) to give the child control and lower anxiety.
When combined with clinical supports such as mock scanners or paediatric‑trained staff, these communication strategies increase the chance of a successful scan and reduce stress for the family. The final business note explains local paediatric imaging support on the Central Coast.
Life Medical Imaging Central Coast offers paediatric imaging across multiple locations on the Central Coast, with paediatric‑trained staff, low‑dose CT protocols, digital X‑ray and comprehensive ultrasound services. Our teams prioritise child comfort and pre‑visit support to reduce anxiety. Parents can request paediatric‑focused appointments, mock familiarisation or staff who regularly work with children to tailor the experience and improve scan success. If you’re seeking local paediatric imaging, our information hub and online enquiry options make it easy to ask about preparation, sedation screening or child‑centred support before your appointment so you arrive confident and prepared.
Preparing children for radiological procedures: reducing anxiety and improving outcomes
Children attending hospital for radiological procedures often face uncertainty and distress, which can reduce scan quality or lead to rescheduling and increased use of sedation. Evidence shows that preparing and educating children before procedures improves procedural outcomes. This scoping review examined non‑invasive methods used to prepare, educate and familiarise children and young people for radiological procedures in healthcare settings.
Interventions and methods to prepare, educate or familiarise children and young people for radiological procedures: a scoping review, L Bray, 2022
Challenges in paediatric MRI: cooperation, anxiety and environment
Practical and technical challenges when imaging children create a unique set of issues. Children must be motivated, alert and cooperative; anxiety can add complexity. Researchers and clinicians must consider time limits, movement restriction, scanner noise and unfamiliarity with the MRI environment. Progressive, child‑friendly imaging protocols can help make MRI more accessible for children.
Making MR imaging child’s play — paediatric neuroimaging protocol, guidelines and procedure, NM Raschle, 2009
Frequently Asked Questions
What should I do if my child has special needs or anxiety about imaging?
If your child has special needs or significant anxiety, tell the imaging team before the appointment. Many centres offer child life specialists who provide tailored support, mock sessions and familiarisation with equipment. These services use age‑appropriate techniques that reduce fear and improve cooperation. Book a pre‑visit consultation to create a personalised plan that meets your child’s needs and smooths the visit.
How can I explain the imaging process to my child?
Use simple, age‑appropriate language and focus on reassurance. For young children say, “We’re going to take a quick picture of your tummy to see how it’s doing.” For older children, explain what they’ll hear and feel and why the scan helps their health. Encourage questions and answer honestly but briefly — that helps them feel in control.
What are the potential risks associated with paediatric imaging?
Diagnostic imaging is generally safe, but some tests use ionising radiation (X‑ray and CT). The main concern is radiation exposure, which is why paediatric teams use low‑dose protocols. Discuss the necessity of the scan with your child’s clinician to weigh benefits and risks. Non‑radiation tests like ultrasound and MRI carry minimal risk, though understanding the procedure helps reduce anxiety.
How can I help my child cope with the noise during an MRI?
MRI can be noisy. Bring noise‑reducing headphones or earplugs if allowed; many facilities offer music during the scan. Explain the noises beforehand and practise relaxation techniques like deep breathing or visualisation. Request a mock scanner session if your child is worried — gradual exposure can make the actual scan much easier.
What should I do if my child refuses to cooperate during the scan?
If your child refuses to cooperate, stay calm and patient. Reassure them and try distraction or a comfort item. Tell the technologist — they have additional techniques and may suggest a short break. In some cases, sedation might be considered; this will be discussed with you beforehand to make sure it’s appropriate and safe.
Are there any dietary restrictions before a CT scan?
Yes — dietary restrictions depend on whether contrast material will be used. For CT with IV contrast your child may need to fast for several hours beforehand, while clear fluids are often allowed up to a few hours before the scan. Always follow the specific fasting instructions provided by the imaging team, as requirements vary by age and the type of scan. If you’re unsure, contact the facility for clarification.
Conclusion
Preparing your child for diagnostic imaging combines practical planning with emotional support. Following clear guidelines reduces anxiety, improves cooperation and leads to better image quality with fewer repeat scans. Use the checklists, tables and communication tips in this guide to help your family feel confident. If you need more help or want to learn about our paediatric imaging services, please contact us — we’re here to support you every step of the way.