Diagnostic Medical Imaging: Benefits, Preparation, Techniques, and Safety Guidelines
Diagnostic imaging uses specialised equipment to show what’s happening inside the body so clinicians can diagnose sooner and plan treatment more precisely. This practical guide walks through the common modalities — MRI, CT, ultrasound and X-ray — how they work, the key clinical benefits and what patients need to do to get safe, reliable results. You’ll find clear preparation checklists, straightforward comparisons between modalities, and plain-language explanations of newer technology such as AI and 3D/4D imaging. We explain when MRI is preferred over CT or ultrasound, how modern systems reduce radiation exposure, and how innovations increase diagnostic confidence. The sections that follow cover MRI benefits and safety, CT preparation and low-dose techniques, ultrasound options including obstetric 3D/4D, essential X‑ray safety practices, recent technology developments, and practical booking and referral pathways to help patients and referrers arrange studies efficiently.
What Are the Key Benefits of MRI Scans in Diagnostic Medical Imaging?
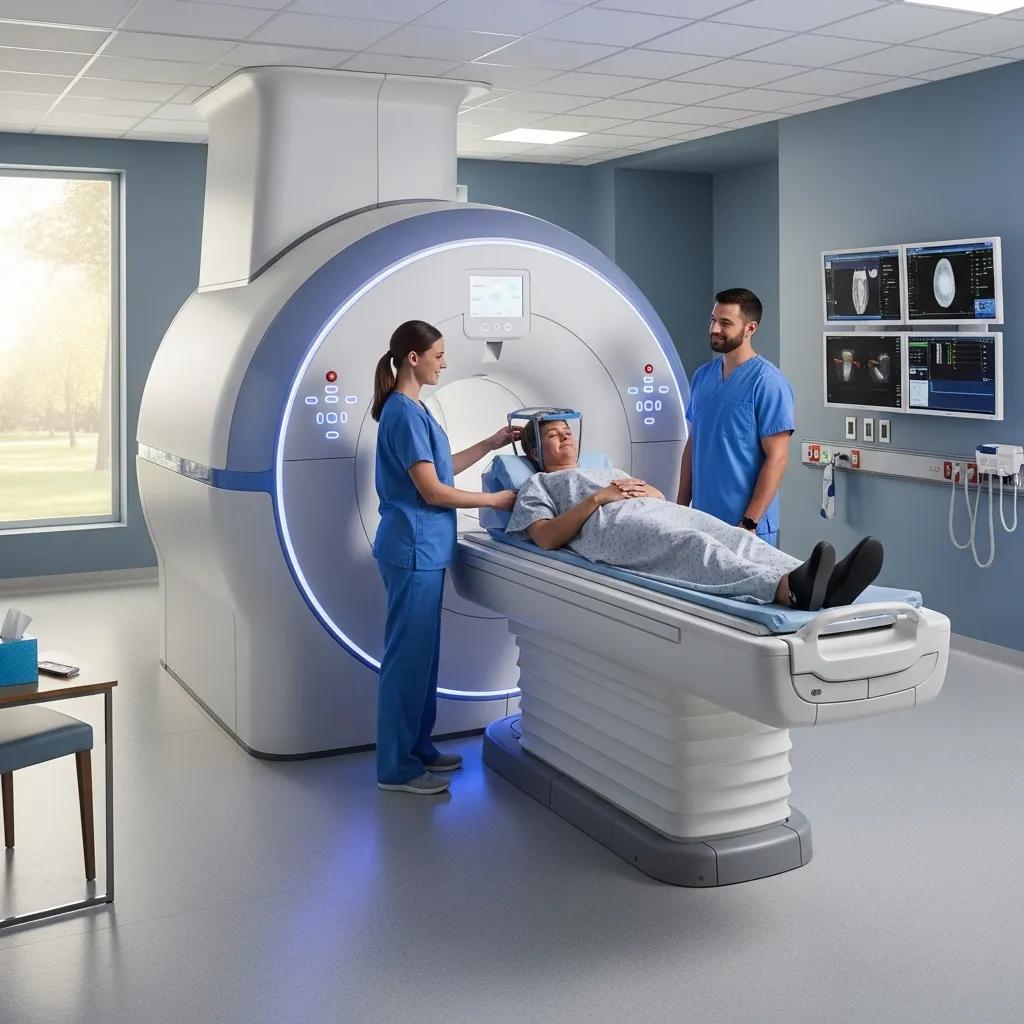
Magnetic resonance imaging (MRI) gives excellent soft‑tissue contrast by using strong magnetic fields and radiofrequency pulses. That makes it particularly useful for assessing the brain, spinal cord and joints where soft‑tissue detail matters. MRI can better characterise tumours, inflammation and ligament or cartilage injuries than ionising techniques in many cases, providing information that directly affects treatment planning. It’s also highly adaptable — specialised sequences and contrast studies allow targeted assessment while avoiding X‑ray exposure, which is helpful for follow‑up imaging over time. Knowing these strengths helps clinicians and patients choose the most appropriate test for soft‑tissue and neural problems and plan the next steps in care.
The table below summarises common MRI applications and the diagnostic value they provide. It highlights why MRI is often the preferred option when fine soft‑tissue or neural detail is central to the clinical question, and it leads into practical safety considerations covered next.
This comparison underlines MRI’s diagnostic strengths and why clinicians rely on it for complex soft‑tissue and neurological issues. The next subsection explains, in patient‑friendly terms, how MRI produces that improved soft‑tissue visualisation.
How Does MRI Provide Detailed Soft Tissue Visualisation?
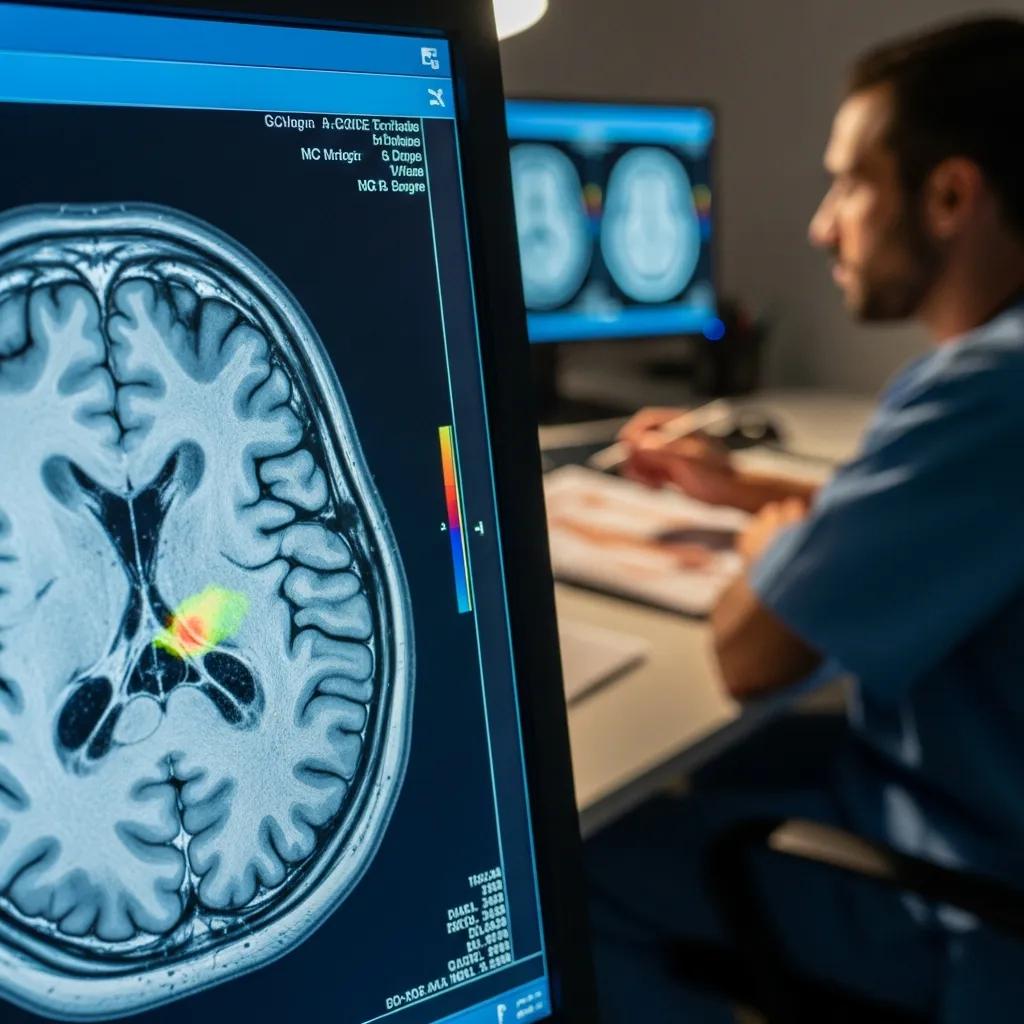
MRI forms images by aligning hydrogen protons in a magnetic field and recording their response to radiofrequency pulses. The returning signals are processed into different sequences (for example, T1 and T2) that highlight fluid, fat, haemorrhage or fibrosis. Because MRI differentiates tissue characteristics rather than relying on X‑rays, it can reveal brain tumours, spinal lesions and ligament tears that may be hard to see on CT or plain radiographs. This also explains why staying still during the scan is important and why technologists select specific sequences to answer particular clinical questions.
Sequences can be combined with functional techniques or contrast agents to refine diagnosis further — for example, contrast can show vascularity or disruption of the blood–brain barrier. Those options support treatment planning and follow‑up, and they lead naturally into safety topics — particularly implant screening and contrast considerations — discussed next.
Why Is MRI Considered Safe with Non‑Ionising Radiation?
MRI does not use ionising radiation; instead it relies on magnetic fields and radiofrequency energy, so it avoids the cumulative radiation risk associated with CT and conventional X‑rays. Safety attention therefore focuses on metallic implants, active electronic devices and, when needed, gadolinium‑based contrast agents. Before scanning, we screen for implants and ask about pregnancy or claustrophobia so we can adapt protocols — for example using shorter sequences, offering sedation or using open MRI options where appropriate. These precautions ensure MRI’s non‑ionising nature delivers a favourable safety profile for most patients while preserving diagnostic quality.
Being aware of MRI’s screening steps and safety considerations helps patients understand the pre‑scan consent and checklists used by imaging teams. That same practical approach carries over to CT preparation, which we cover next.
If you need details about MRI services, accreditation or how to book, Life Medical Imaging Central Coast can help. As a NATA‑accredited independent radiology provider across multiple Central Coast locations, we offer sub‑specialist MRI services, online appointment requests, eReferral submission and secure image access for referring clinicians. Call or use the clinic’s booking channels to discuss suitability and arrange an appointment.
How Should Patients Prepare for a CT Scan?
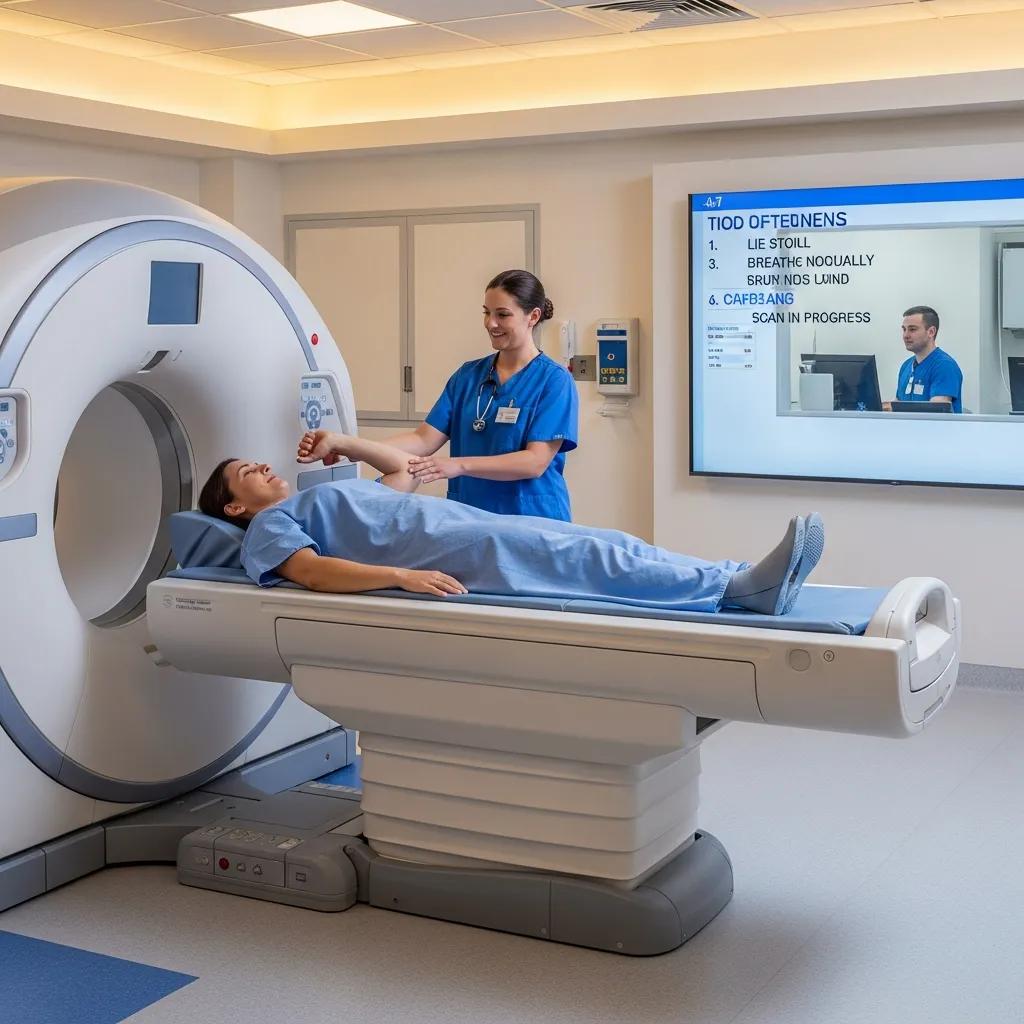
Computed tomography (CT) uses rapid cross‑sectional X‑ray imaging to show differences in bone, air and soft‑tissue density with high spatial resolution. It’s particularly useful for acute trauma, chest and abdominal emergencies and surgical planning. Preparation depends on whether the study uses intravenous contrast: contrast CT often requires fasting, renal function checks and allergy screening, while non‑contrast CT usually needs only basic preparation like hydration and removing metal. Following clear pre‑scan instructions reduces the chance of contrast reactions, helps produce optimal images and keeps appointment schedules running smoothly. Inform staff if you are pregnant, have allergies or kidney disease so the team can advise appropriately.
Below is a practical, step‑by‑step checklist patients and referrers can follow before a CT appointment. After the list we summarise fasting, contrast and monitoring responsibilities in a short table.
- Confirm Referral and Appointment: Check whether the study requires contrast and confirm your arrival time with the imaging provider.
- Fasting and Hydration: If contrast is planned, fast for the advised period (commonly 4–6 hours) and stay hydrated unless told otherwise.
- Medication and Medical History: Tell staff about allergies, kidney disease, diabetes medicines (especially metformin) and recent thyroid problems before your scan.
- Arrive Prepared: Wear comfortable, metal‑free clothing, remove jewellery and bring any recent imaging or reports for comparison.
- During and After the Scan: Report any unusual sensations immediately; if contrast is given, brief post‑scan observation may be required for at‑risk patients.
Following these steps reduces delays and improves safety. The table below summarises the main preparation elements and their practical value.
What Are the Steps for CT Scan Preparation and Contrast Dye Use?
Preparation for a contrast CT begins with confirming the exact study and any pre‑test instructions, such as fasting or holding particular medications. Referrers commonly provide recent renal function tests when indicated, and imaging teams may pre‑medicate patients with known contrast allergies according to established protocols. On the day, wear metal‑free clothing, bring a list of current medications and recent imaging, and expect staff to establish IV access just before injection. You may feel warmth or a metallic taste during contrast injection; staff will explain these sensations and monitor you. Clear communication about medical history and following the team’s instructions ensures safe contrast use and reliable images.
These preparation steps reduce risk and keep the appointment on track. Next we explain how modern CT systems work to lower radiation exposure for patients.
How Does Low‑Dose CT Imaging Enhance Patient Safety?
Low‑dose CT combines advanced reconstruction algorithms, optimised protocols and automated exposure control to cut radiation while keeping diagnostic image quality for many indications. Techniques such as iterative reconstruction and patient‑tailored exposure let radiologists match dose to patient size and clinical need, which is especially valuable for follow‑up imaging, screening and paediatric studies where radiation sensitivity is higher. When high‑resolution detail is essential, standard‑dose protocols remain appropriate; for other indications, ultra‑low‑dose options reduce cumulative risk. Explaining dose rationale to patients helps balance clinical benefit against radiation exposure and supports informed decision making.
Understanding low‑dose strategies reassures patients and assists clinicians deciding when CT is the best test. If you’d like to discuss CT scheduling, Life Medical Imaging Central Coast offers CT services with low‑dose capability across several Central Coast locations and can advise on booking and referral options.
What Are the Most Effective Ultrasound Imaging Techniques?
Ultrasound uses high‑frequency sound waves to produce real‑time images of soft tissues, moving structures and blood flow. It’s radiation‑free and well suited to obstetrics, gynaecology, vascular assessment and musculoskeletal evaluation. Different techniques — standard 2D imaging, Doppler for flow assessment and volumetric 3D/4D imaging — answer different clinical questions and can also guide procedures such as biopsies or injections. The modality’s portability and safety make it ideal for point‑of‑care exams as well as formal clinic studies. Below we outline the core ultrasound techniques and their typical uses.
The list below summarises common ultrasound techniques and where they’re most helpful, followed by guidance on choosing the right approach for clinical needs.
- 2D Grey‑Scale Ultrasound: Anatomical detail, organ structure and basic pathology detection.
- Doppler Ultrasound: Assessment of blood flow for vascular disease and suspected thrombosis.
- 3D/4D Volumetric Ultrasound: Detailed fetal anatomy and real‑time volumetric assessments.
- High‑Resolution Musculoskeletal Ultrasound: Detailed views of tendons, ligaments and superficial soft tissues.
Choosing the right ultrasound technique increases diagnostic yield and supports targeted treatment; the next subsection focuses on obstetric and gynaecological volumetric imaging.
How Are 3D and 4D Ultrasound Used in Obstetric and Gynaecological Imaging?
3D ultrasound reconstructs volumetric data to give detailed anatomical views, while 4D adds real‑time motion to that volume. In obstetrics, 3D/4D is helpful for targeted anatomy checks and follow‑up of suspected anomalies, giving additional spatial detail to complement standard 2D surveys and aiding parental counselling. In gynaecology, volumetric imaging assists assessment of uterine and adnexal shape, improving detection of congenital anomalies or complex ovarian masses. These techniques are safe when performed by trained sonographers, since they use the same sound‑wave principles as standard ultrasound and do not involve ionising radiation.
Volumetric imaging therefore boosts diagnostic confidence when spatial relationships matter and naturally follows into ultrasound’s vascular and musculoskeletal strengths described next.
What Are the Benefits of Vascular and Musculoskeletal Ultrasound?
Doppler vascular ultrasound evaluates blood flow dynamics and can detect conditions such as deep vein thrombosis, carotid stenosis and peripheral arterial disease without radiation exposure — making it a rapid bedside tool for risk stratification. Musculoskeletal ultrasound offers high‑resolution imaging of tendons, ligaments and joints, can assess structures dynamically during movement and guides injections with precision to improve treatment outcomes. Both vascular and MSK ultrasound are cost‑effective, repeatable and provide real‑time feedback that complements other imaging modalities for comprehensive care. These strengths make ultrasound a first‑line option for many soft‑tissue and vascular indications and increasingly valuable for procedural guidance.
Understanding ultrasound capabilities helps referrers choose the best initial test and coordinate care pathways. The next section covers X‑ray safety principles for when ionising imaging is required.
What Are the Essential X‑Ray Safety Guidelines in Medical Imaging?
X‑ray remains essential for assessing bone injuries, chest pathology and dental issues, but it must be used with radiation safety principles in mind. The ALARA (As Low As Reasonably Achievable) principle guides technique selection, shielding and exposure settings. Modern digital detectors and optimised techniques further reduce dose and minimise repeat imaging. Paediatric and dental studies require special attention — collimation, thyroid shielding and age‑adjusted protocols help lower lifetime exposure. The paragraphs below explain how digital X‑ray contributes to dose reduction and list practical steps imaging teams use to protect patients.
These measures show how modern X‑ray practice balances image quality with patient safety. The next subsection explains how digital detectors achieve these practical gains.
How Does Digital X‑Ray Minimise Radiation Exposure?
Digital X‑ray systems use sensitive detectors that capture more signal at lower exposures, allowing technologists to reduce tube current or exposure time compared with film systems while maintaining diagnostic detail. Smart post‑processing improves contrast and noise management, lowering the chance of repeat images. Clinically, this means faster exams, reduced radiation per study and better support for paediatric protocols where minimising dose is critical. Explaining these improvements reassures patients that technology directly contributes to safer imaging without compromising results.
Those practical steps lead into the specific safeguards used for dental and bone imaging, outlined next.
What Safety Measures Are Taken for Dental and Bone X‑Ray Imaging?
Dental and bone X‑ray protocols focus on targeted imaging, careful collimation and use of thyroid collars or gonadal shielding where appropriate to protect radiosensitive tissues. For children, age‑ and size‑adjusted settings and specific positioning techniques reduce dose, and clinicians limit imaging frequency to what’s clinically necessary. Choosing the right technique — for example an orthopantomogram for a broad dental survey versus bitewing periapicals for targeted checks — helps optimise diagnostic yield and limit exposure. These safeguards ensure X‑ray is used thoughtfully, balancing diagnostic benefit with patient safety.
The table above summarises common steps imaging teams use to limit radiation across typical exam types. The next major section looks at recent technology trends reshaping diagnostic imaging.
How Are Recent Medical Imaging Technology Advancements Improving Diagnostics?
Recent innovations — including AI‑assisted image analysis, portable and hybrid imaging devices, and improved 3D/4D techniques — are enhancing diagnostic sensitivity, speeding workflows and extending imaging into new care settings. AI can help detect lesions and prioritise urgent studies, reducing reporting delays, while reconstruction and denoising algorithms let us lower dose without losing image quality. Portable ultrasound and mobile CT improve access at the bedside and in remote areas, and hybrid systems that combine functional and structural data support more precise surgical planning. The subsections below examine AI’s role and the practical impact of portable and hybrid devices on patient pathways and clinical workflows.
- AI‑powered detection and triage: Faster identification of critical findings and prioritised reporting.
- Low‑dose reconstruction algorithms: Preserve image quality while reducing radiation exposure.
- Portable imaging devices: Point‑of‑care access and bedside diagnostics in acute and remote settings.
- 3D/4D imaging advances: Better surgical planning and richer anatomical visualisation.
Together, these innovations improve diagnostic yield, patient safety and operational efficiency. The next subsection explores specific AI applications and what validation they require.
How Is AI Enhancing Diagnostic Accuracy in Medical Imaging?
AI supports radiologists by assisting with automated lesion detection, characterisation and prioritisation of abnormal studies, which can reduce missed findings and speed diagnosis for urgent cases. Practical uses include triaging chest X‑rays for suspected pneumothorax, flagging pulmonary nodules on CT and helping with quantification tasks such as bone density measurements — always with clinician oversight to confirm results. Proper validation, regulatory approval and careful workflow integration are essential to ensure reliability; algorithms must be audited for bias and tested across diverse patient groups. When used as a clinician‑in‑the‑loop tool, validated AI can improve sensitivity and efficiency without replacing expert interpretation.
That balanced view of AI leads into how portable and hybrid devices are changing where and how imaging is delivered, covered in the next subsection.
What Role Do Portable and Hybrid Imaging Devices Play in Patient Care?
Portable devices — from handheld ultrasound to mobile CT units — make it possible to perform diagnostics at the bedside, in emergency departments and in rural or remote locations, improving access and shortening time‑to‑diagnosis for acute conditions. Hybrid systems that combine functional and anatomical imaging produce integrated datasets useful for staging, surgical planning and therapy monitoring by correlating physiology with structure. Operationally, these technologies influence scheduling, staffing and image transfer needs and require reliable connectivity and standardised reporting to preserve diagnostic continuity. In practice, they expand care options while demanding careful workflow design to maintain quality and data integrity.
With technology trends covered, the final main section explains how patients and referrers can access imaging services and reports efficiently.
If you have questions about the clinic’s imaging equipment, NATA accreditation, ultra‑low dose CT or 3D/4D ultrasound availability, Life Medical Imaging Central Coast can advise on the most appropriate modality and help with booking. The clinic operates across several Central Coast locations and supports eReferral submissions, online appointment requests and secure image access for referrers and patients.
How Can Patients and Referrers Access Diagnostic Imaging Services Efficiently?
Efficient access depends on clear referral pathways, prompt appointment scheduling and straightforward delivery of images and reports to referring clinicians and patients. Many centres offer online appointment requests and eReferral systems that streamline administration, reduce processing time and improve coordination between referrers and imaging teams. Secure image platforms and standardised reporting pathways make results available quickly to clinicians, and telephone support helps resolve booking or preparation questions. The subsections that follow summarise the benefits of online booking and eReferral and explain common methods for accessing images and reports.
The numbered list below gives a quick overview of the advantages and practical steps for online appointment booking and eReferral systems, followed by a short summary emphasising the benefits for referrers and patients.
- Faster Scheduling: Electronic referrals and online booking reduce administrative delays and speed appointment allocation.
- Improved Accuracy: Structured eReferral forms capture the clinical details needed for correct protocol selection.
- Integrated Image Access: Digital platforms deliver images and reports directly to referrers, supporting rapid decision making.
- Patient Convenience: Online requests and clear pre‑scan instructions simplify preparation and reduce missed appointments.
These efficiencies lower wait times, improve communication between clinicians and imaging teams, and make the patient experience smoother. The next subsection describes how patients typically access their images and reports securely.
What Are the Benefits of Online Appointment Booking and eReferral Systems?
Online booking and eReferral systems add speed, traceability and consistent data capture to imaging workflows, benefiting both referrers and patients by reducing manual processing and appointment delays. For referrers, structured eReferral forms improve triage and ensure the imaging team has the clinical context needed to choose the right protocol. Patients gain convenience through direct appointment options and clear preparation advice, while administrative staff can allocate resources more efficiently to reduce wait times. These platforms also support audit trails and coordination across multiple sites or modalities, which is valuable in multi‑location practices.
The practical outcome is a smoother path from clinical question to diagnostic answer. If you need help with online appointment requests, eReferral submission or image access at Life Medical Imaging Central Coast, the clinic’s team can guide you through referral routing and portal access by phone or via the booking channels.
How Can Patients Access Their Medical Images and Reports Online?
Patients normally access images and reports through secure patient portals, temporary secure links or by requesting image media (for example, a CD), depending on the provider’s systems. Referrers usually receive reports electronically into their clinical systems. Turnaround times vary by modality and urgency — many centres provide same‑day or next‑day reporting for standard studies, with expedited pathways for urgent findings. Patients will receive instructions on how to request or share images and should be informed about privacy safeguards and consent processes for image sharing. For help interpreting results, patients are encouraged to review findings with their referring clinician who will place them in the context of clinical care.
This completes the practical pathway from referral and booking to image access and reporting, designed to help patients and clinicians navigate diagnostic imaging safely and efficiently.
For bookings, eReferral support or enquiries about image access and services at Life Medical Imaging Central Coast, patients and referrers can contact the clinic via the published booking channels or by phone. The clinic’s multiple Central Coast locations and support for online appointment requests, eReferral submissions and secure image access are intended to make diagnostic imaging straightforward.
Frequently Asked Questions
What should I expect during a diagnostic imaging procedure?
Trained staff will guide you through the process. What happens depends on the modality — MRI, CT or ultrasound — but you can generally expect to change into a gown if needed, remove metal objects and lie still during the scan. Technologists will explain what to expect, including noises from machines, and give breathing or stillness instructions. Comfort measures such as music, reassurance from staff or sedation options for those who need them may be available. If you have concerns, tell the team so they can help.
Are there any risks associated with diagnostic imaging?
Imaging is generally safe, but there are specific considerations. X‑rays and CT use ionising radiation, so the ALARA (As Low As Reasonably Achievable) principle is applied to minimise exposure. MRI does not use ionising radiation but requires implant and device screening and consideration of contrast use. Contrast agents carry a small risk of reactions or, rarely, kidney effects — your clinician will weigh the benefits and risks. Discuss any concerns with your referrer or the imaging team so they can advise what’s appropriate for you.
How can I manage anxiety related to imaging procedures?
If you feel anxious, tell the imaging staff beforehand. Practical strategies such as breathing exercises, listening to calming music, bringing a support person or using distraction techniques can help. Some centres offer sedation or open MRI options for people with severe claustrophobia. Preparing ahead by reading the preparation instructions and asking questions usually reduces anxiety and makes the experience easier.
What is the role of contrast agents in imaging studies?
Contrast agents improve visibility of vessels, organs and tissues in certain CT and MRI studies. They can be given orally or intravenously depending on the exam. While most people tolerate contrast well, a small number experience allergic reactions or side effects. Always tell the imaging team about any previous reactions to contrast, allergies or kidney problems so we can assess risk and take precautions.
How do I know if I need a follow‑up imaging study?
Follow‑up imaging is recommended based on the initial findings and the clinical situation. Your referring clinician will discuss the results and decide whether further evaluation or monitoring is needed. Factors that influence follow‑up include the presence of uncertain findings, changes in symptoms or the need to monitor a known condition. If you’re unsure why a follow‑up is suggested, ask your referrer for clarification.
What should I do if I have claustrophobia and need an MRI?
Tell your referrer and the imaging team if you have claustrophobia. Options include open MRI systems where available, conscious sedation, shorter protocols or coping strategies such as music and breathing techniques. Some centres also offer distraction aids like headphones or visual aids. Discuss these options when booking so the team can plan for a comfortable, safe scan.
Conclusion
Diagnostic medical imaging is a vital part of modern healthcare — it helps clinicians reach accurate diagnoses and choose the right treatments. Understanding the benefits, preparation steps and safety measures for MRI, CT and ultrasound empowers patients and referrers to make informed choices. If you need help arranging imaging or want to discuss the best test for your clinical question, contact Life Medical Imaging Central Coast. We’re here to make the process clear, safe and as convenient as possible.